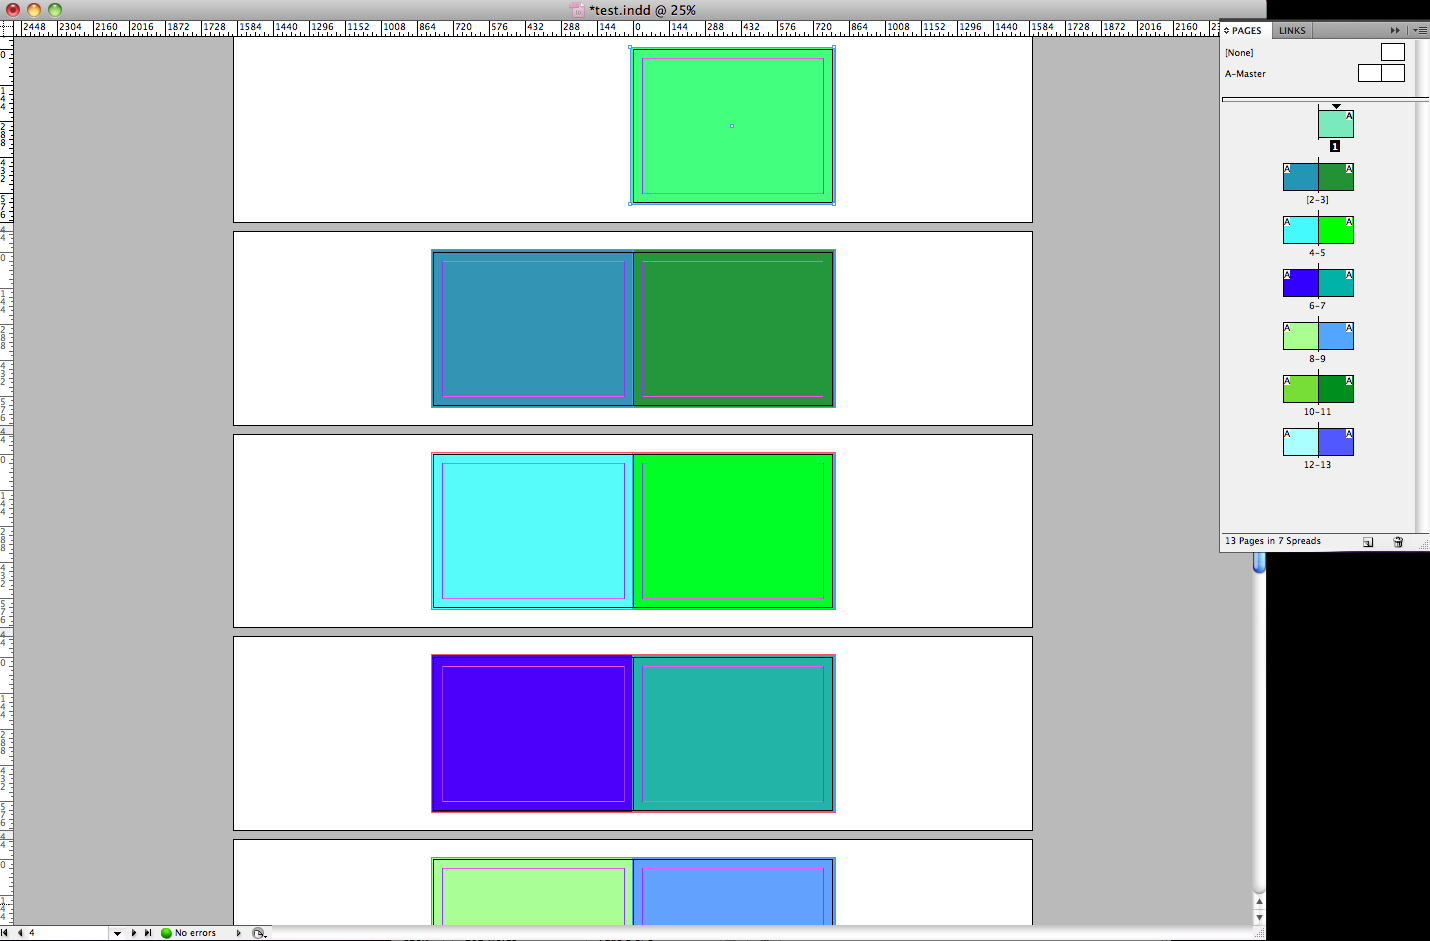
Please Note: InDesign is a very advanced program and therefore also demands a very advanced learning curve. The following instructions offer 2 different methods that each yield different results. Please review both options before moving forward.
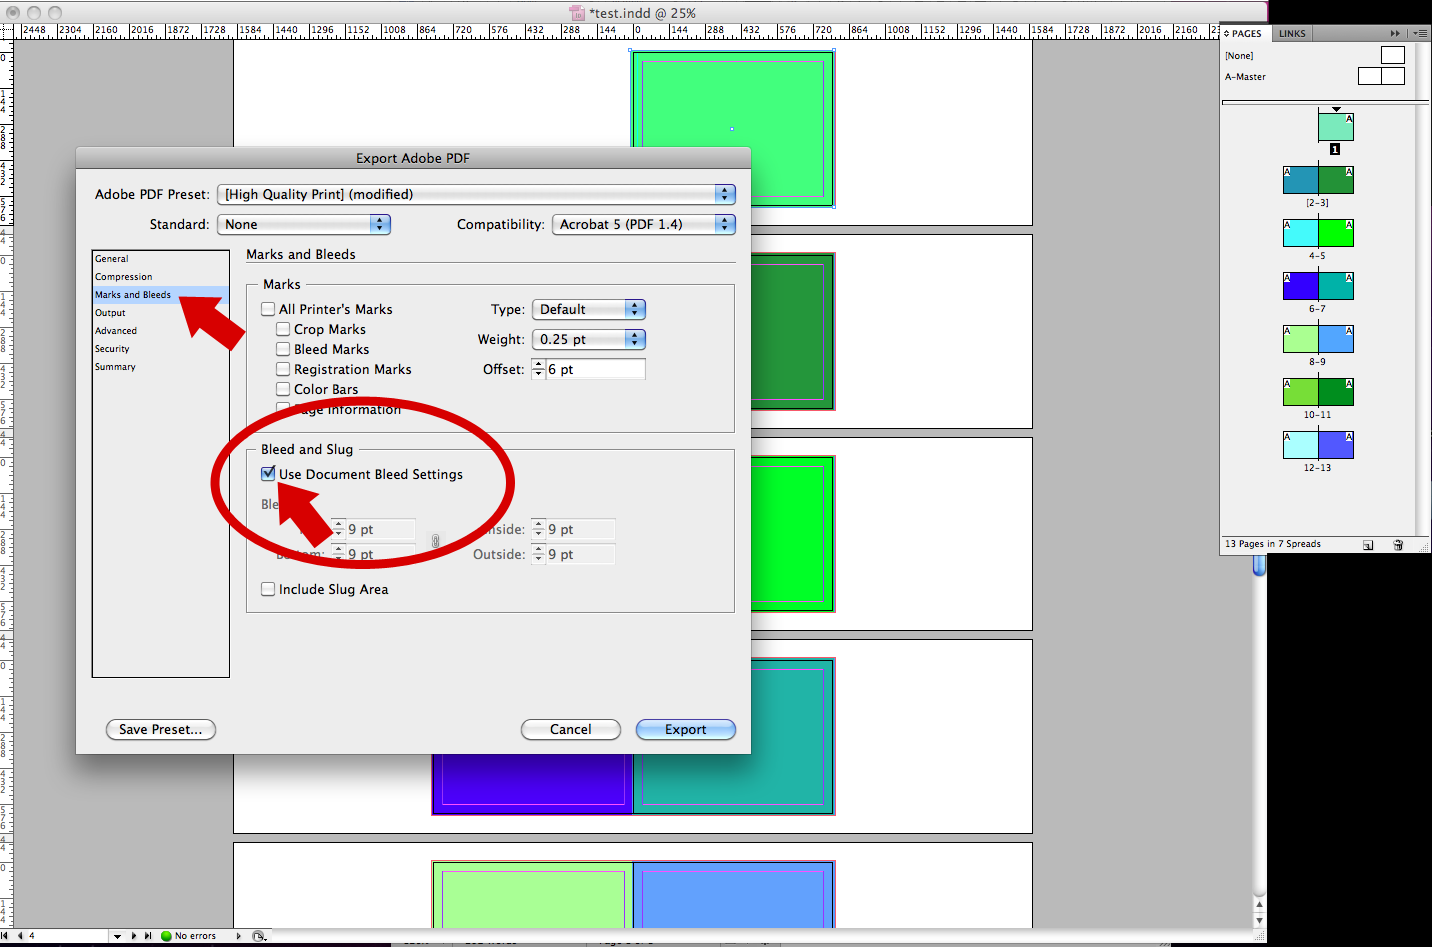
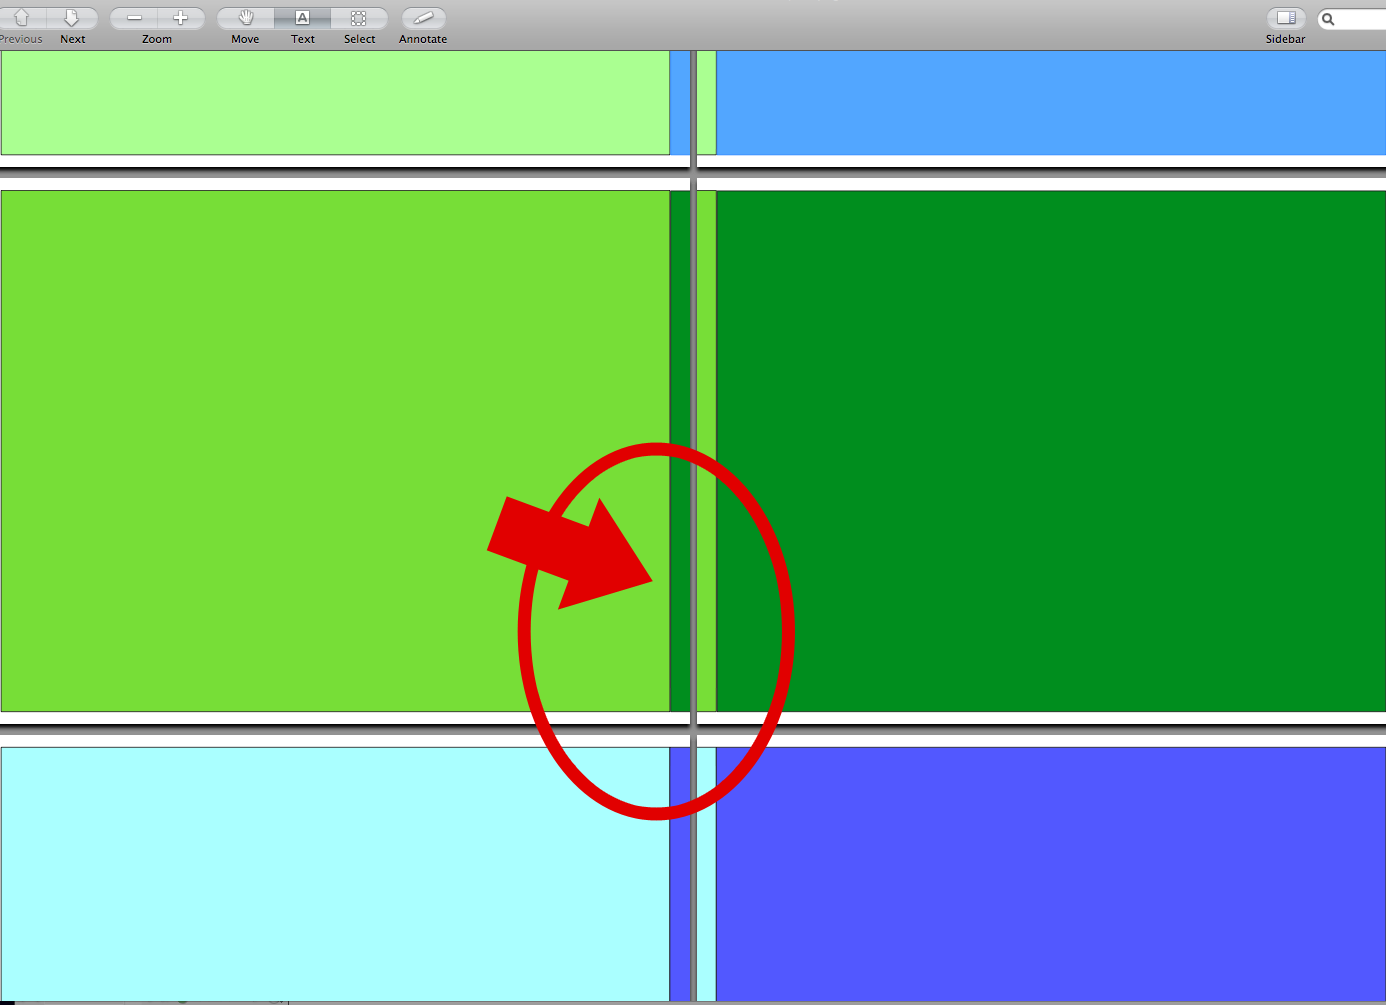
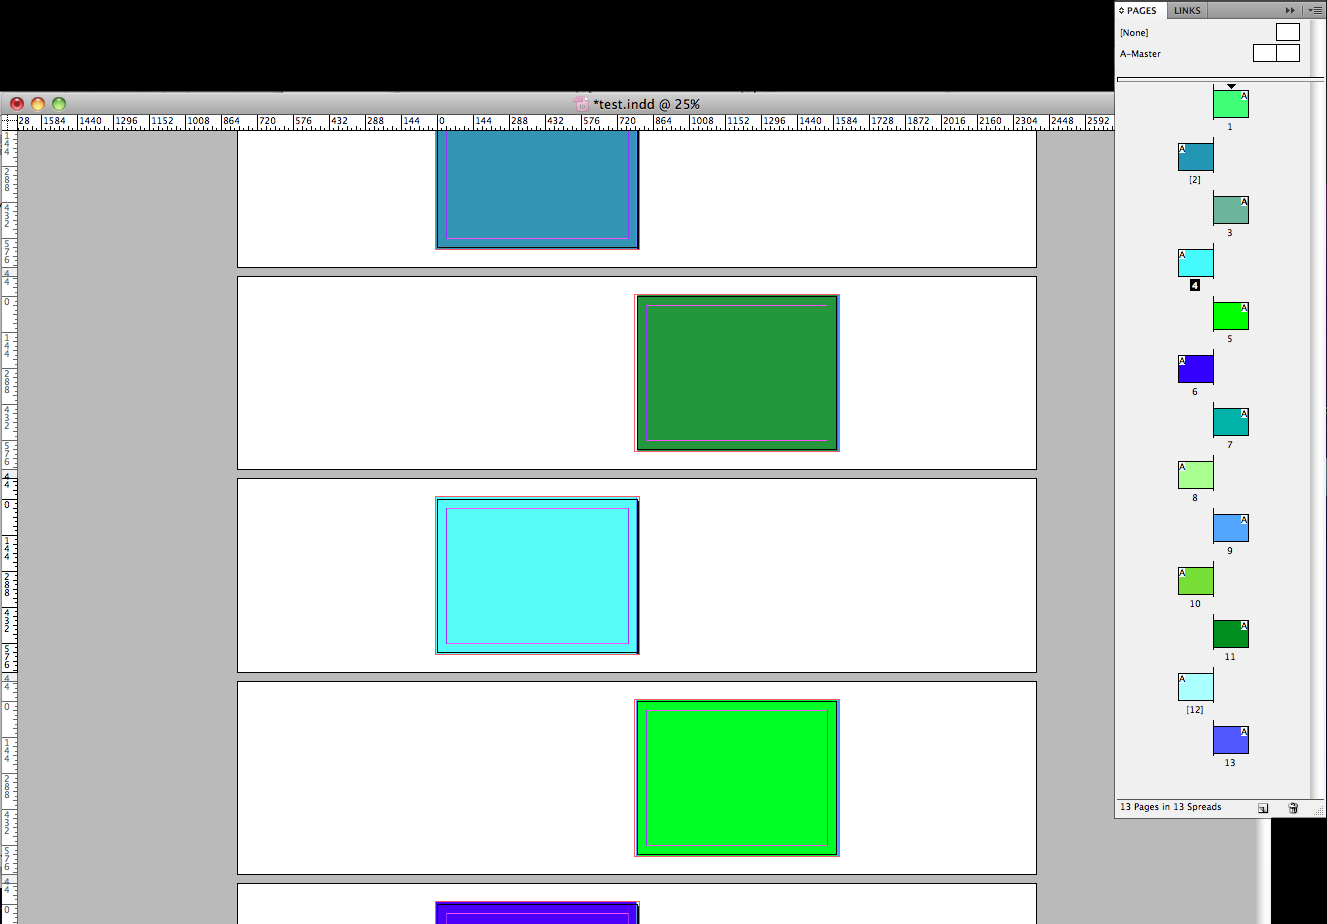
Saving your InDesign document with bleeds as described on our main InDesign page, yields a resulting pdf that transposes ("flip-flops") the bleeds located in the gutter of your book looking something like this:
There are 2 ways to correct this concernA) Account for bleed by sizing correctly and using rulersStep 1) Size - Create the document .25” larger than document size
- Enter in your number of pages
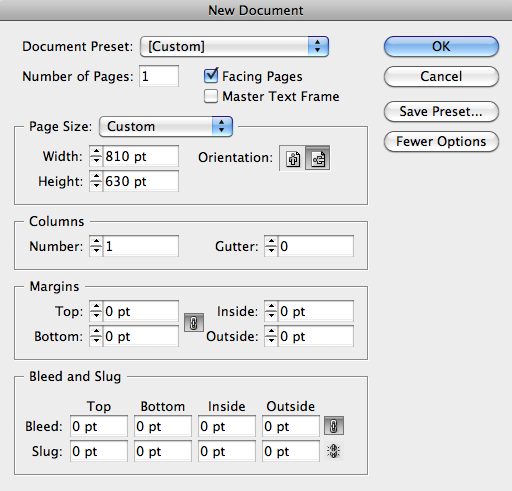
- Enter in your document size + .25” (ex: 11”x8.5” will be 11.25”x8.75”)
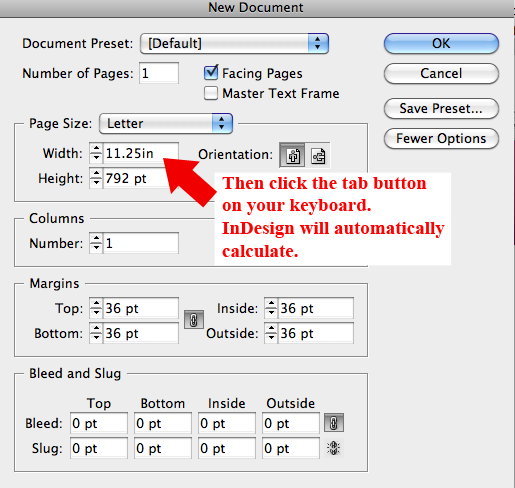
(:exclaim:)Helpful tip for creating your document when considering inches vs pt etc. You can enter your document size in inches with “in” after the number and then hit the tab button on your keyboard. InDesign will calculate the size into pt for you - here's an example:
Then you can enter in the information for the rest of aspects as follows
- Columns set to - 1
- Gutter set to - 0
- Margins set to - 0
- Bleed and Slug set to - 0
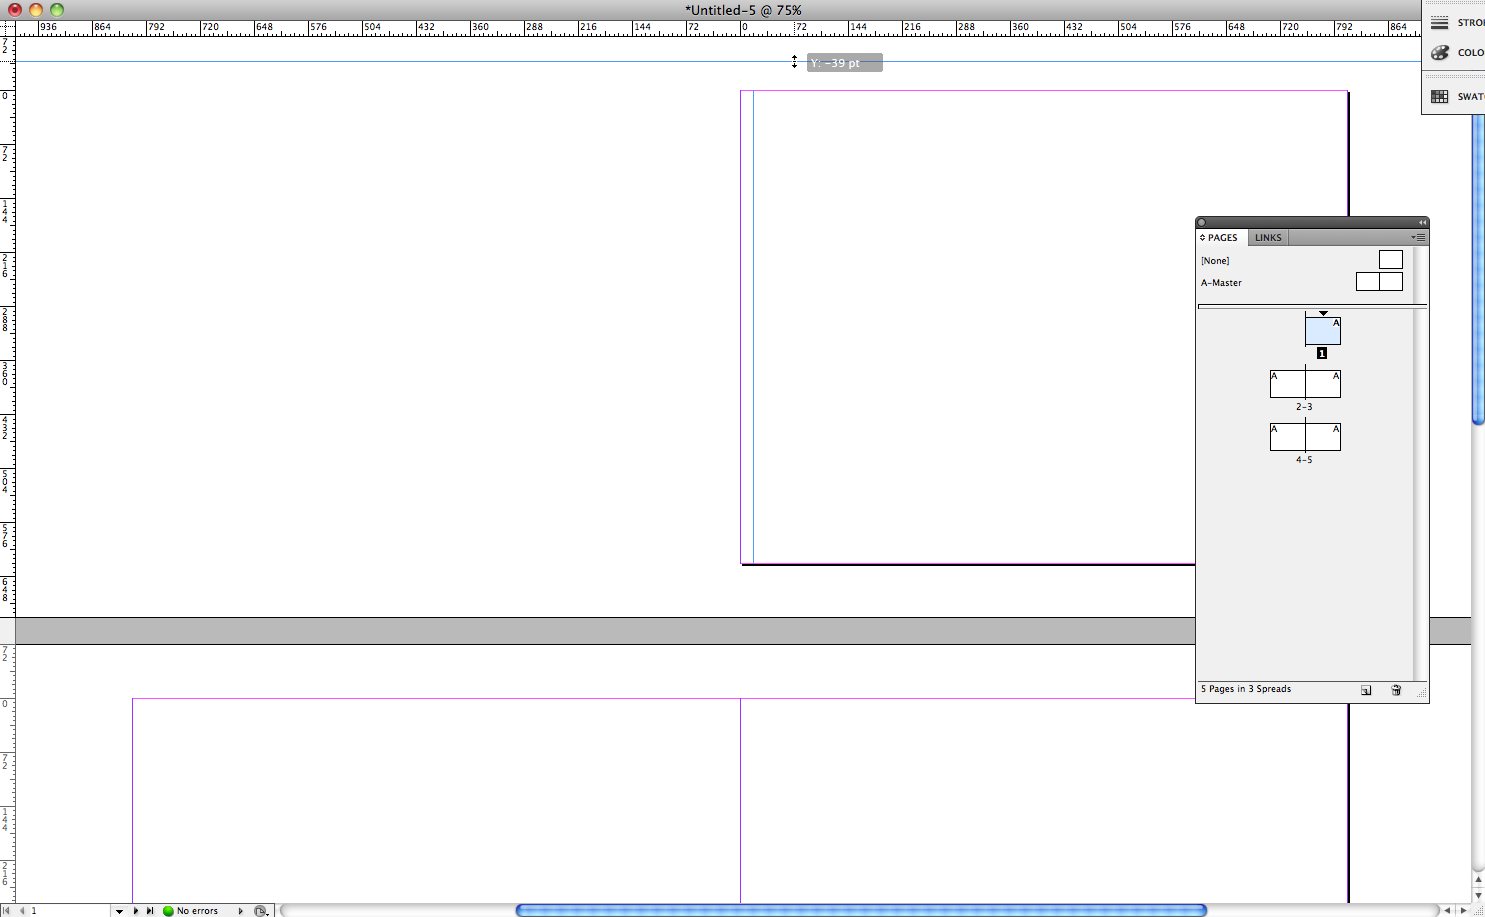
Step 2) Apply guides - Once your page is open drag guides in from the ruler’s on the right of the page and
the top of the page.
- Drop the guides at .25” within each edge.
- This will give you a guide to keep all vital content within, and enable to you stretch
all non-vital content to the end of the page.
- When the file is saved as a pdf, the rulers will not be saved.
for more information about rulers and guides click here:
Adobe Rulers and GuidesB) you also have the option to apply a bleed in the set up and then break the pages.Breaking the pages will allow the bleed that you established in the set up that we describe on the main InDesign page to be applied without the bleeds in the gutter being transposed. First set up the document as instructed by
PrestoPhoto. You will then need to break the pages as instructed by
InDesignsecrets.com. And then save the document as instructed by
PrestoPhoto.
Please note that this method will result in a white space for your gutter bleed - as well as your page bleed. The majority of the gutter white bleed will fall within the binding of the book, but not 100% all of it. Nor is the other edges bleed guaranteed to all be trimmed. If this bothers you, then you may want to opt for the method of using rulers that's described above!
